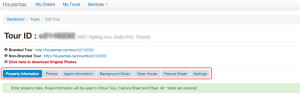
First of all, you need to login to your account and click the blue “Edit” button under “My Tours” in the main menu bar.
Under the edit tab “Photos”, you can do three things: Remove photos; Change photos’ name; Change photos’ order.
1. Remove photos:
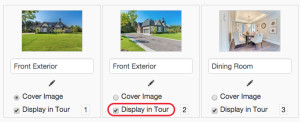
Technically, you can not remove the photos from your photo library, but you can deselect any of them so it/they will not be displayed in your tours. Under each photo, there is a checkbox called “Display in Tour”. If you do not like the photo and want to remove it from the virtual tour, you can deselect the checkbox, then click “Save” button.
2. Change photos’ name
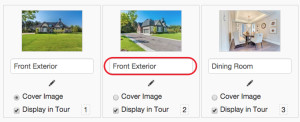
Under each photo, there is a field for you to change the name of each photo, once you update, the new name will become the subject of each photo so it may be easier for viewer to understand where they look at. The name of the photo could be Front, Foyer, Living Room, Kitchen, etc., any words as you like.
3. Change Photos’ Order
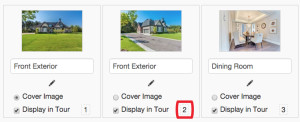
Beside the “Display in Tour” checkbox, there is a small number button. You can click&hold the mouse to drag the photo to the position you want. For example, there is a photo in order of 6 now, but you want it display in order 3. What you can do is, click&hold the small number and drag it to the position between 2 and 3, drop it, then this photo is now in order 3. When you finish the arrangement, you need to click “Save” button to lock the changes.


